
BCB Bike Shed - The Build Plan for 2026
- Buck City Biker

- Dec 16, 2025
- 5 min read
Updated: Dec 21, 2025
Things are finally moving in the BCB Bike Shed — and I don’t just mean parts lying around on the floor pretending to be progress. We’ve got a plan on paper, tools in hand, and a vision that’s part ambition and a little bit of madness.

Here’s the rundown: we’re building a highway-capable electric chopper using the M1Ps frame as a starting point. We want at least 70 miles of real-world range—hopefully more—classic chopper attitude, and a handful of custom-built components because some bits we just can't buy. The finished bike will stick to our philosophy of key-throttle-go. No connected apps, no remote unlocking. We got into this for the disconnect.
So let's get to it and outline our goals. If you're unfamiliar with the project, you can check out our first announcement here.
Stage 1 — Styling, Comfort, Security & Acceleration
This is the first stage of the build — the one that gets the bike rolling in a lower-power configuration before we dive into the heavy fabrication and big-ticket components. Here’s what’s on the list for Stage 1:
Display Mounting: Getting the display in the perfect spot will shape the bike’s lines and make sure we can actually see our key data. Plus, if we’re honouring classic chopper DNA, the display has to play nice with the overall silhouette.
Headlight, Nose & Front-End Styling: It’s got to look right. Period. We’re chasing a strong, aggressive front with some sexy amber DRLs — something with a bit of Dark Knight energy.
Front Wheel Installation: Start with a 14-inch wheel for this phase, then upgrade to a 17-inch once the rear drivetrain goes in. One step at a time.
Front Fender: We need protection from road grit, spray, and whatever the British weather throws at us.
Extended Foot Pegs: We plan to stretch out the pegs while reducing weight. This is a fabrication job and will give us that laid-back cruiser attitude.

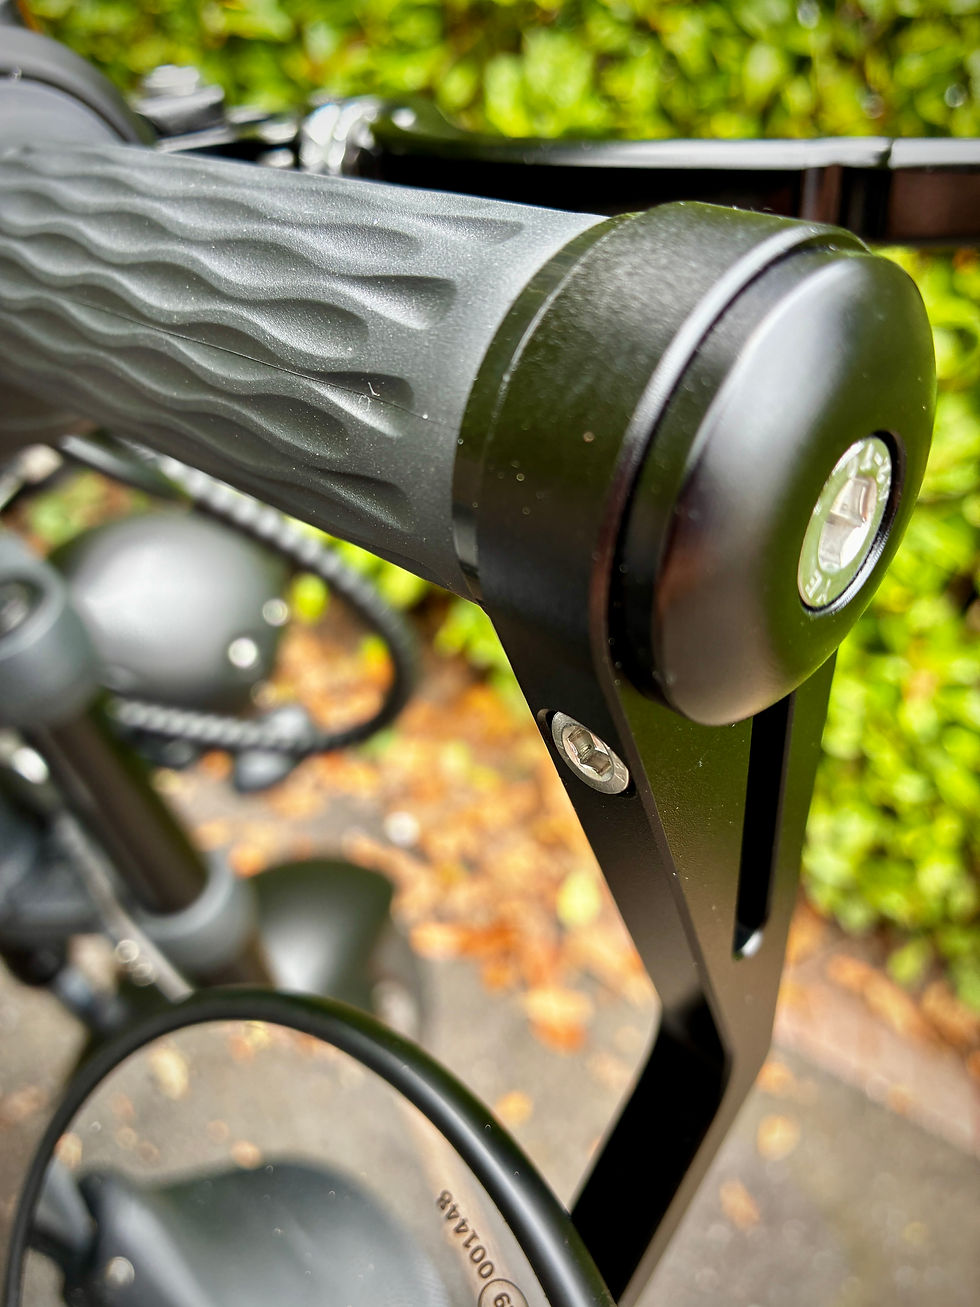
Café Racer Mirrors: A style choice, yes — but with large viewing glass so we’re not riding blind in traffic.
Tail Upgrade: Clean and sharp. Properly integrated stop lights and turn signals included, because the DVLA likes to know you’re when planning to exit.
GPS Tracking: We're not going for full CANbus integration here, but we need a simple yet effective way to find the bike if someone happens to lift it into their van without permission.
Controller Tweaks: We're going to tweak the current controller to offer better acceleration, without burning out the motor.
Stage 2 - Battery and Power
This is where we set the bike up for stage 3 - Power Delivery. The battery pack has to fit the frame, stay cool, deliver solid range, stay safe, and still leave room for wiring, controllers, and the rest of the hardware circus.

Voltage — 72V: We’re keeping it simple for Build no.1. 96V (or more) is on the horizon, but 72V gives us the performance we need without turning the learning curve into a cliff face.
Discharge — 210A Continuous: Plenty of punch for the speeds we’re chasing. We’re open to pushing this higher — depends on how brave we’re feeling.
Capacity — 140Ah (shooting for 200Ah): Realistically, 140Ah - 10.08kWh - will be plenty for our needs. But when we adopt a bigger motor, we'll try and cram 200Ah into the frame without compromising safety or styling.
Charge Rate — 1C: For our intended use, this bike will be charged at home overnight (it's the cheapest way) but if we do need to use a public charger, 1hr should be fine.
Cell Choice — TBC: This has been a point of heavy head scratching. Samsung 50S cells are affordable and solid. Molicel P45B or 50B are the gold-standard bruisers. But the solid state Lithium cells doing the rounds offer the best safety standards.
Bluetooth BMS: Without CAN bus, we need a way to monitor the battery for testing and ongoing fault detection.
Cooling: Either dynamic or solid state, for those balmy English summers.
Stage 3 - Running Gear and Power Delivery
While the M1Ps comes with a decent - but low powered - rear hub, and soft forks for city weaving, that setup taps out fast once you point the front wheel at the highway. This is the stage where we stop messing around and start putting real power to real tarmac.

Motor - 11kW, 17-inch Ultra-Wide Rear Hub: We debated mid-drive vs. hub for weeks. Mid-drive gives you finesse; hub gives you brute-force simplicity. And for a chopper — we’re not track-day heroes here — the hub wins. More space for batteries, fewer moving parts, and plenty of muscle for highway pulls.
Rear Swing Arm: With a new motor, we need a new swing arm, we've looked at options but non of them work, so this is another self-fabrication piece.
Rear Tyre — 210/50ZR15 Metzeler ME888 Marathon Ultra: The wide-boy classic. If choppers had a uniform, this tire would be part of it.
Controller — Likely a Fardriver: We’ve had good experiences with them on other builds. Flexible, powerful, reasonably priced. We’re still window-shopping for alternatives, but Fardriver is the current front-runner.
Front Forks — Shortened, Dual Brakes, Fully Adjustable: With the bigger front wheel, we get new geometry, so we need to reimagine the forks. We just haven’t landed on the brand yet.
Front Wheel & Tyre — 17-inch, Likely 130/70: Still in discussion, but this size gives us the look and handling we want without affecting the stance.
Stage 4 - Charging: Feeding the Beast

The bike will primarily be charged at home. We're sticking a 3.3kW on-board charger into the frame. This will work from a European domestic socket and be compliant with public type 2 charge points.
3.3kW will take 3-3.5 hours to charge the pack, that's not fast, but the battery is a 10kW unit with a 1C charge facility, so there's plenty of scope to increase the charger to 10kW in the future.

Cold English winters bring their own problems, so preheating is on the list too. Batteries hate the cold almost as much as we do. We'll implement a heating pad into the battery housing, this needs to be thermostatically controlled and only turn on when we need it. All this without draining too much juice from the pack.
Charging Stop Signal: Yes, we've done it before, engaged full throttle while still plugged in. That doesn't do your wall plug - or bike - any favours. We need a simple switch on the charge port that disengages the throttle so we don't start towing the house with us.
Final Word
That’s the full game plan for the BCB Bike Shed build: batteries, power, styling, and enough custom work to keep us awake at night. It might change, but we've got to start somewhere. Next up, we dive into Stage 1 and tackle the piece we thought would be easy — the display mount. Spoiler: it wasn’t.
Stick around. Things are about to get interesting.
Don't want to miss the next story? subscribe to our newsletter now. It's free, no spam, just an email on Fridays. Stay tuned on the latest e-moto news with Buck City Biker.
